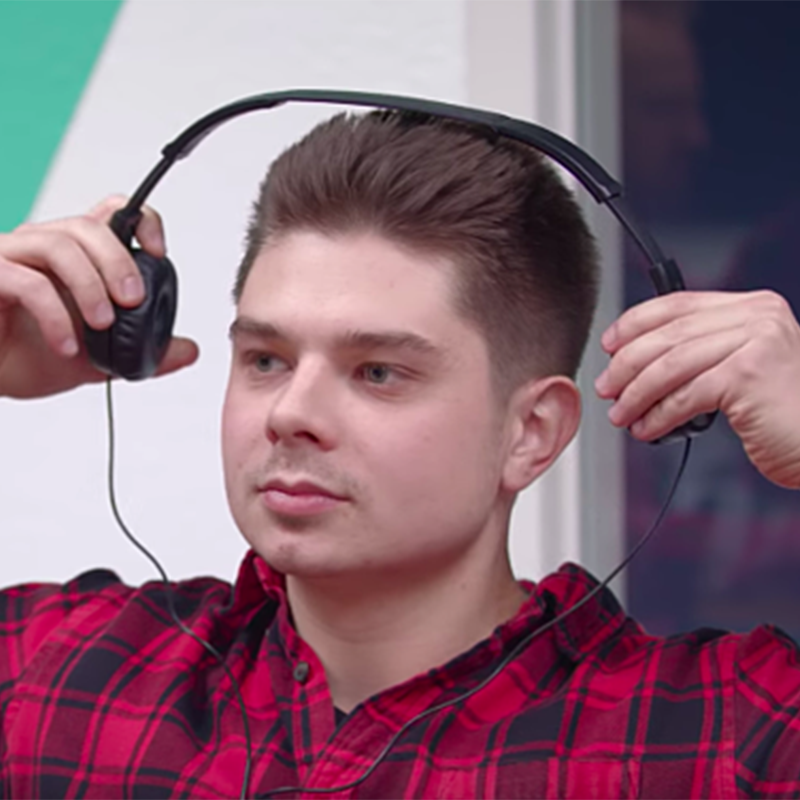
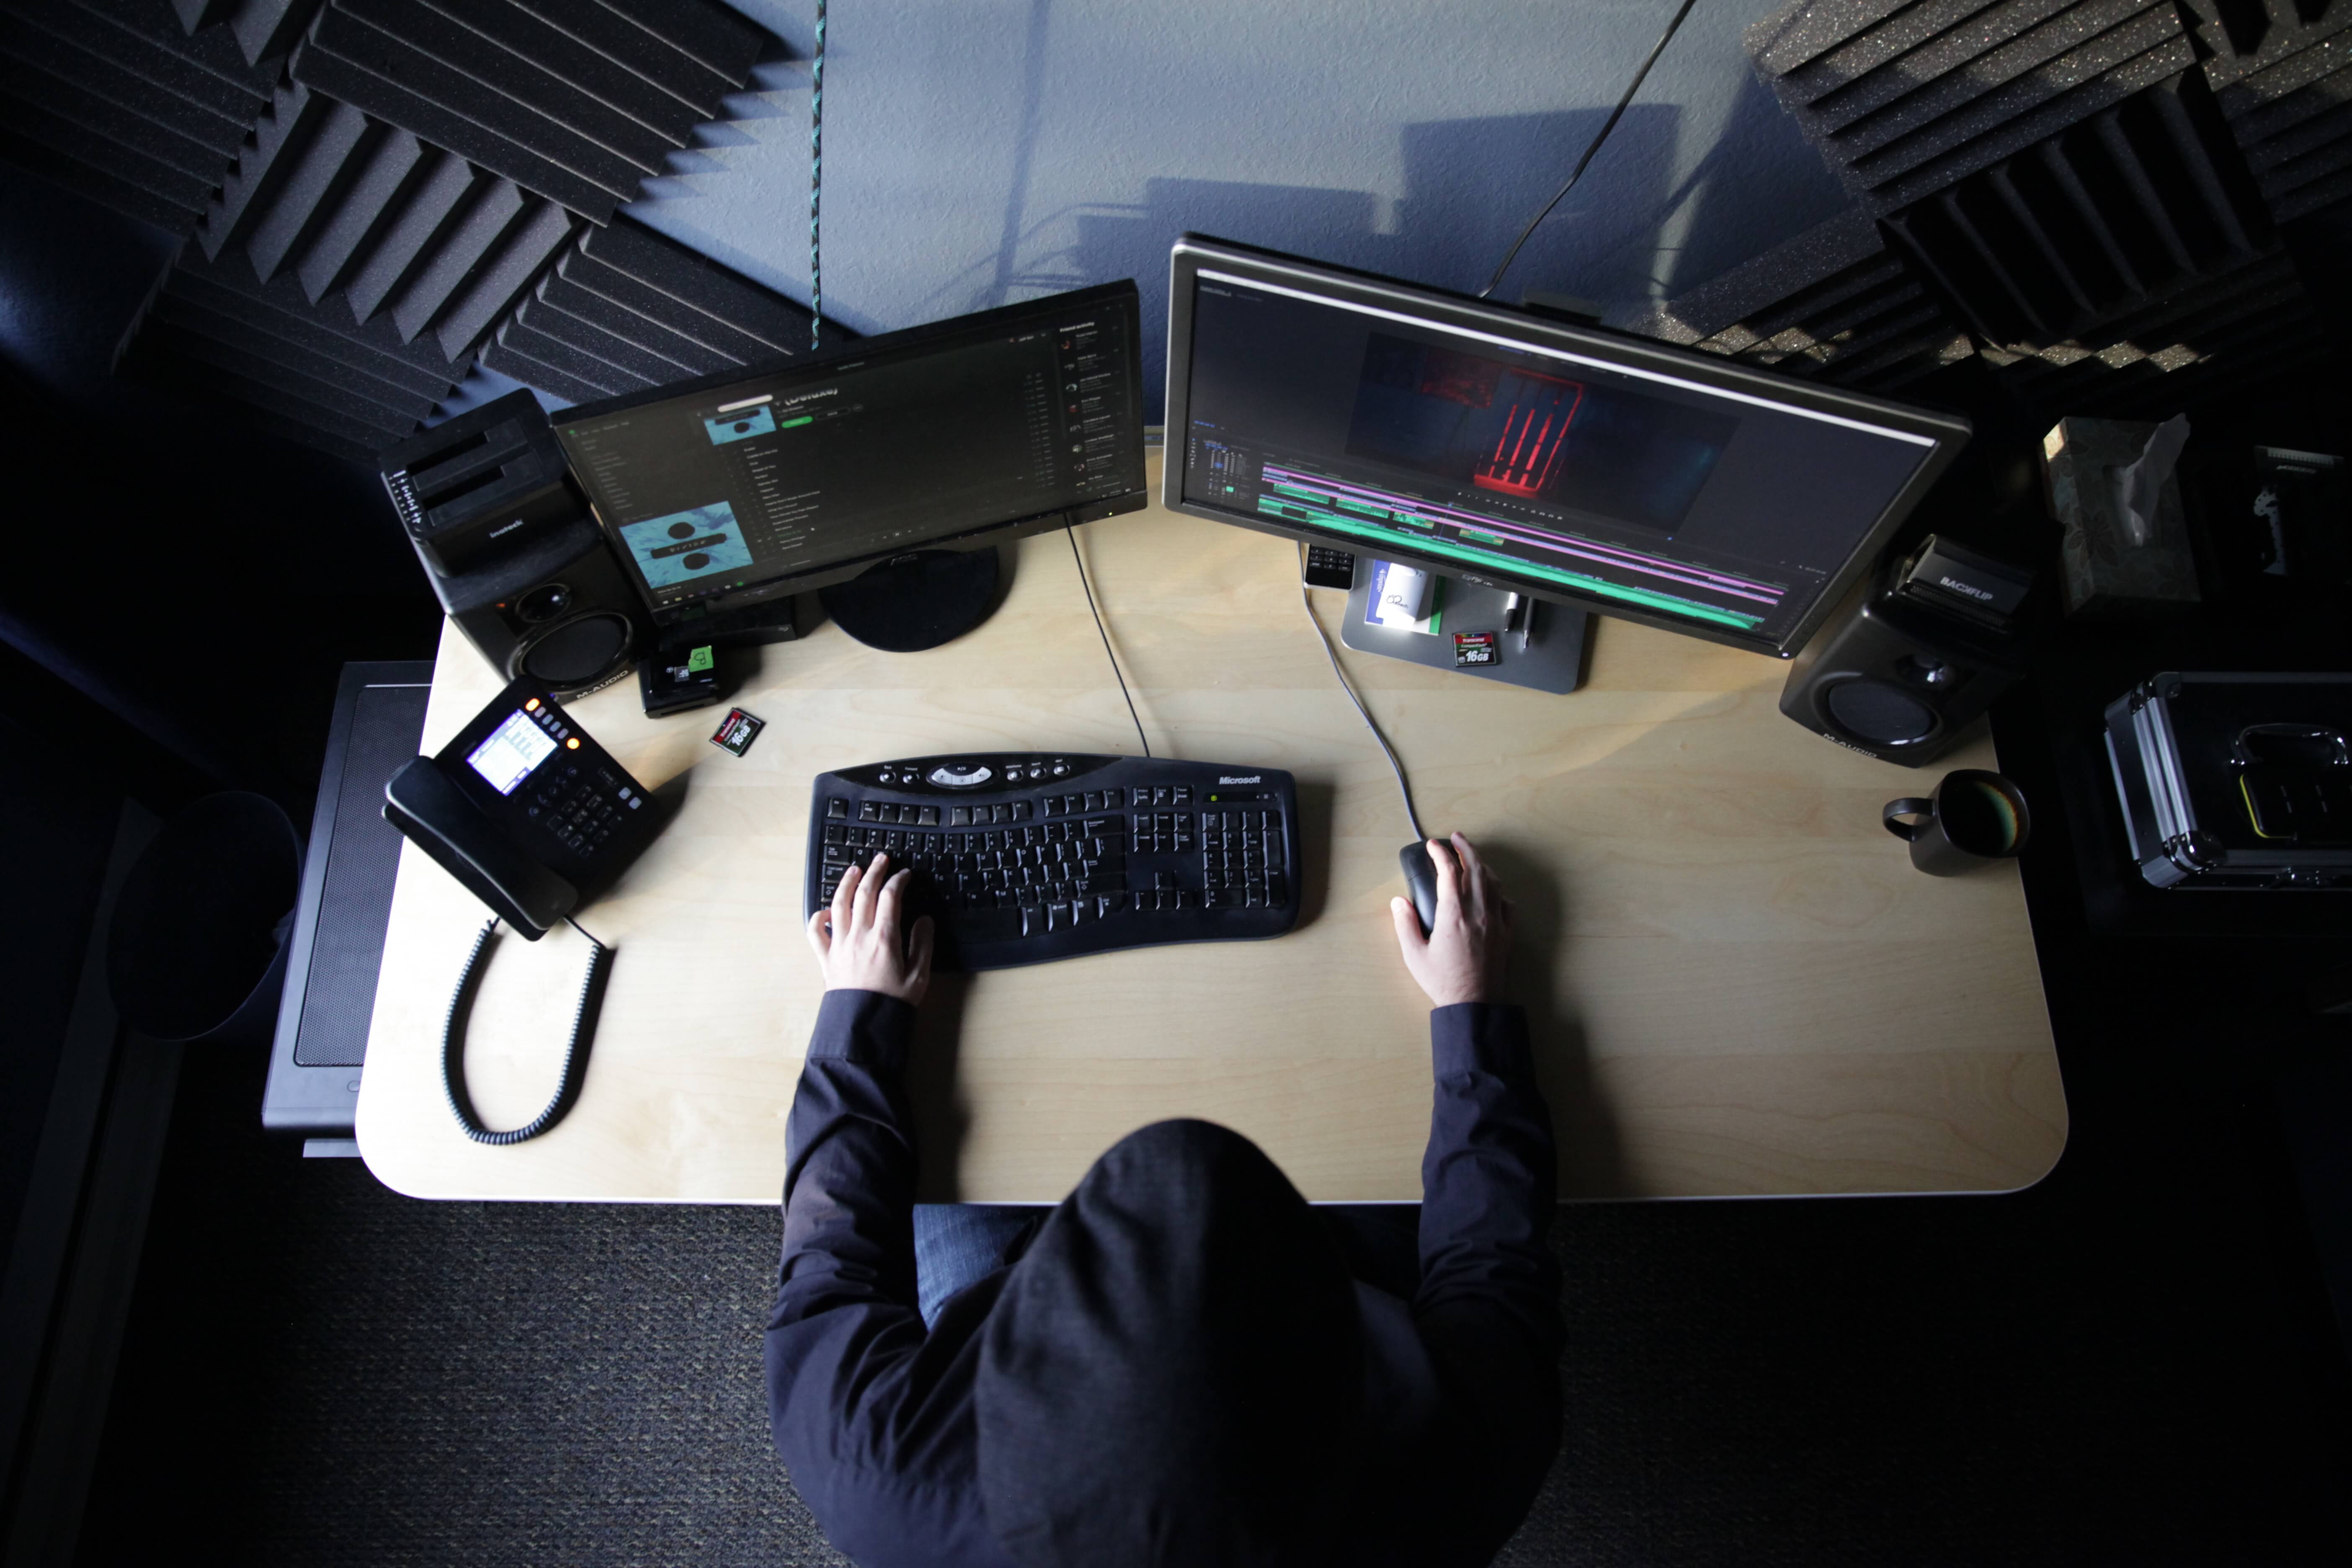
Hey guys, Andrew Christofil here. I spend about 35 hours a week editing videos and I suppose I have some tips for beginning editors that I think might be useful to check out if you fit into that category.
1. Stay Classy
 You may think you need a cross-dissolve (or other cool transition) but you probably don’t.
As a beginning editor, I was guilty of this and I think most beginners are. It is exciting to see the list of Adobe Premiere’s built in video transitions in the effects panel and mess around with them. By far the most commonly used of these transitions is the infamous cross dissolve. This effect fades out Clip A while simultaneously fading in Clip B, giving you a transition that blends both clips together momentarily. While this effect works in certain situations such as portraying the passage of time or landing that perfect graphic match, a straight cut from Clip A to Clip B should be your transition 95%-99% of the time.
This will vary depending on the video you are cutting. The main reason for using a straight cut is that it draws the least amount of attention to itself. In a narrative style film, we want our audience to be drawn into the world of the film. Our eyes are so accustom to seeing straight cuts to piece together a scene, that we hardly notice the cuts in the first place. Using a cross dissolve in this situation can be distracting to the viewer and take them out of the narrative. In any other videos, it can just be flat out cheesy.
2. Mind the music
Heavy metal or lo-fi hip hop beats. Whether you are editing a sizzle, a commercial, or a scene of your film, it is worth it to find the music you want early.
For a sizzle, music is not only necessary, but the music you choose is essential to how you will cut together clips. Editing to the rhythm of the music punctuates each cut, making transitions feel motivated. Picking a music track and sticking to it before you even begin editing will also save valuable time, reducing the likelihood of having to re-cut. There is even a popular strategy while cutting together sizzles where you can close your eyes, play the track, and place a marker using the hotkey in Adobe Premiere Pro (m), to the beat of the song where you feel the cuts should go.
For a commercial or scene in a film, it is worth it to at least find a placeholder music track to gain an overall feel of the commercial or scene at hand. Understanding the tone early on in editing helps with pacing, and achieving a certain tone will oftentimes rest in the hands the music (or lack thereof).
3. Smash the spacebar
 Ever wonder when that “perfect moment/second/frame” to make that cut is? Well here is a rule that I made up that I hope will make sense: SMASH THAT SPACEBAR. Let me try to explain.
No mathematical formula/average shot length/replicating famous scenes will tell you when the perfect moment to cut is. As an editor, you need to determine the pacing and rhythm of the scene at hand by feeling it.
Example: let’s say you have Clip A (a reverse shot of character A) and you want to cut to Clip B (a reaction shot from character B). Here’s what you do in 4 easy steps:
Note: Spacebar must be hotkeyed to start/pause timeline on playhead.
Step 1: Go to beginning of clip A in your timeline.
Step 2: Play the clip.
Step 3: Let the clip play until you desperately want to see the reaction shot and SMASH THAT SPACEBAR
Step 4: Insert clip B where the playhead stopped.
More often than not, this method will give you that perfect place to cut. When our brain tells us that we want to see something at that exact moment, it is typically a good time to make that cut! Go back and watch how the two clips cut together. If you were a bit early or late in SMASHING THAT SPACEBAR, feel free to ripple edit until it feels right. SMASHING THAT SPACEBAR gives us the power to let our brain do the editing without actually thinking too hard about “when is that perfect time to make the cut?”.
Don’t literally smash the spacebar. Keyboards and fingers are fragile.
4. Just love the j-cuts and l-cuts
Ah yes, I remember cutting together my first short narrative film like it was yesterday. Character A begins talking so we see his reverse. As soon as Character A stops talking and Character B starts talking, cut to a reverse of Character B! Then when Character B stops, quick cut to character A. See guys, editing is easy!
If you are doing this style of “ping pong editing”, then I am afraid you are angering the Editing Gods and it is advised that you cease doing this at once. We will talk about when “ping pong editing” is appropriate later. Here’s how J-Cuts and L-Cuts work.
A J-cut looks like this (notice the J-shape that the second video and audio track makes):

In our previous scenario, this would mean withholding from cutting to character B until he has at least gotten a few words into his next line.
An L-cut looks like this (notice the J-shape that the second video and audio track makes):

In our previous scenario, this would mean cutting to character B before character A has finished talking.
Using J and L - Cuts will turn your scenes from a choppy ocean to a smooth flowing lazy river. There are certainly times to use “ping pong editing” to get that choppy, back and forth bickering effect. Better yet, use J cuts an L cuts alongside a cut straight to the next character talking!
These are just a few of the things that I've learned along the way in my journey to editing mastery. What are your favorite tips and tricks? Let us know if you smash the spacebar!
This entry was posted in post production, editing, advice