
Let's just get the tired facts out of the way first shall we? Every client wants higher quality for lower budget. You'll always wish you had more equipment/crew/time no matter how big the production. And if you don't have a story worth telling, no amount of "cinematic" shooting will save it from ending up lost in the newsfeed purgatory of pity-likes from friends and family with minimal shares and no comments.
But assuming you've got the right story to tell and just happen to be working on one of those not-quite-enough-budget projects, how can you still achieve a great high end/cinematic look? Here are 3 basic ways to step up your low budget game.
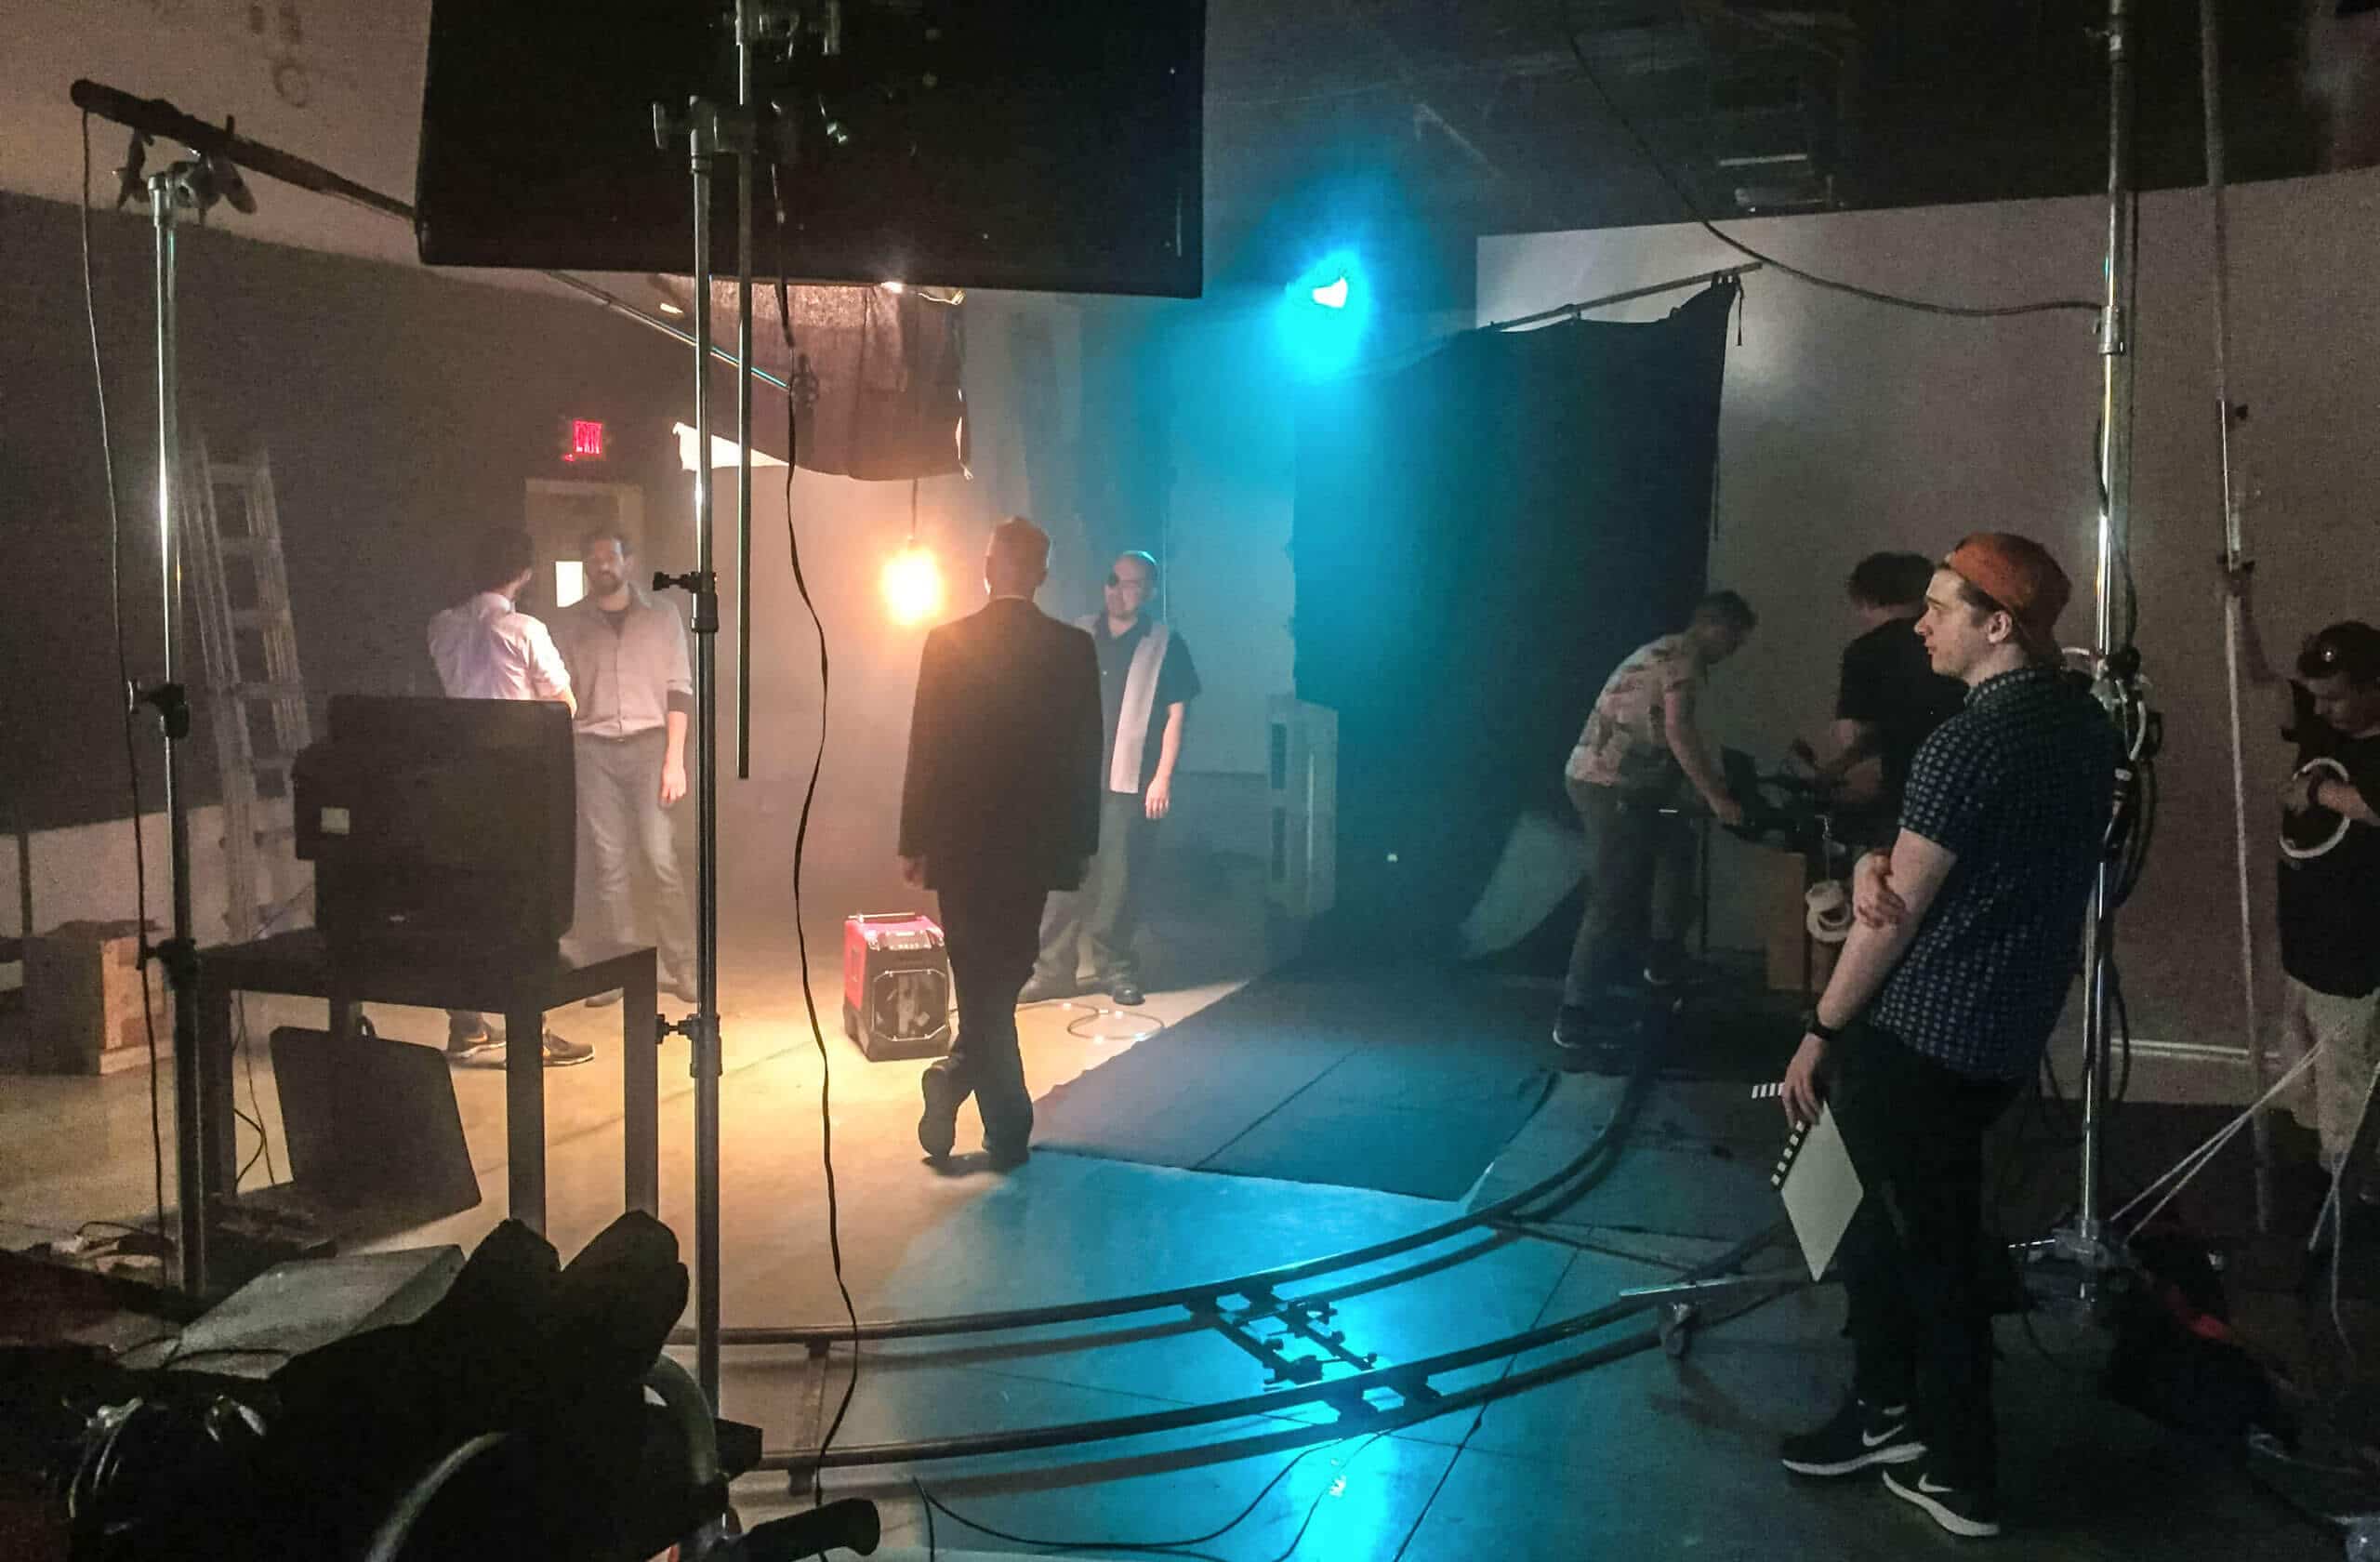
 1. Camera Movement
Go watch a movie. I'll wait. What did you notice about the camera movement? The movements are deliberate and should serve the story. If movement is not required, it's perfectly fine to lock the camera off on a tripod. Just because a tripod can pan and tilt, doesn't mean that needs to happen. The way you set the scene and the movement the actors make will draw in the audience if you do it right. Also note that I am speaking about camera movement, not "lens" movement. Zooming is used VERY INFREQUENTLY in movies and only for specific effects.
On bigger sets when the camera needs to move, it is often rigged up to equipment like sliders, jibs, cranes, steadycam rigs, and drones. If you don't have access to that equipment, just plan you moves accordingly. Shifting your weight from hip to hip is a surprisingly effective short slider move. Bend your arms, bend your knees, and roll your feet heel to toe for an acceptable steadycam move. No drone? Just adapt your shot to a static wide from a high angle on the roof of a building near by. A little creativity here can go a long ways toward making your shoot more cinematic.
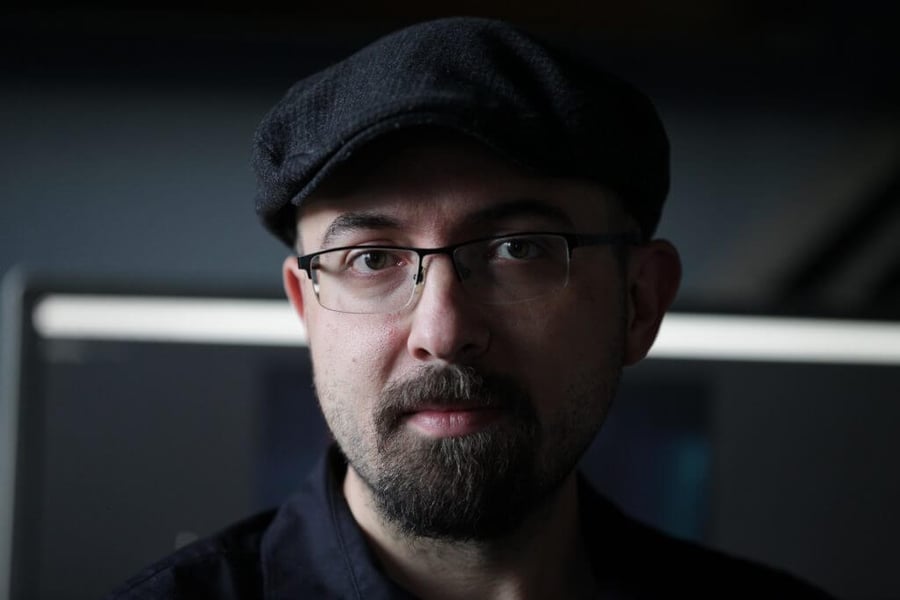 This is a photo Ryan took of Jeff in his office. Natural lighting, just an awesome person in an awesome space! Read Jeff's
HOW I WORK post to see more.
This is a photo Ryan took of Jeff in his office. Natural lighting, just an awesome person in an awesome space! Read Jeff's
HOW I WORK post to see more.
2. Lighting
Another big difference on a movie set is that everything is lit exceptionally and with care. Look at your average office building or even living room. Where is the light coming from? Directly overhead. That casts dark shadows in your actor's eye sockets and under their chin. Not very attractive. There are great articles out there about the concept of 3 point lighting but basically, you want a key light (brightest light), a fill light (filling in the shadows opposite the key), and a back light (something behind the actor to separate from the background). That's just one way to light but it will get you a long way.
If you don't have a light kit, think about ways to achieve the same thing with what you have around you. Is there a big widow that can be used as a key light on one side? Use a big piece of white foam core (from any art supply store) on the opposite side to bounce that light for a fill light.
In general, it is also a good idea to try not to mix tungsten light and daylight sources unless you know what you're doing. So when using a big window, turn off the inside lights and use a bounce card or light bulbs labeled "daylight" or "5600K" color balance. If you're using tungsten lights that are more orange, close the shades to block out sun and use other lights labeled "soft white" or "2700K" color.
This section deserves a much longer post all on it's own but you get the idea. Move lights around, play with contrast and softness using simple things like white bedsheets or shower curtains to get a look that is more intense or more dramatic or more romantic... try to mimic what you see in your favorite examples.
Be conscious and thoughtful.
 3. Framing/Focus Selection
This one is closely related to camera movement but deserves it's own category. It is possible to shoot a piece with no camera movement, simply cutting between locked off tripod shots and have stunning results. It is also possible to move the camera elegantly with sliders, jibs, steadycams, etc. and have terrible results. Each shot should draw the viewer's eye to the part of the frame you want them to look at.
This can be achieved in several different ways. Set design and blocking are two ways to direct viewers' attention. A skilled director can draw your eye to one actor in a massive crowd through some careful blocking, use of color and light, and perhaps focusing the lens. Remember, zooming is used sparingly in cinema, but focusing is used constantly. A rack focus between a character in the background and a character in the foreground can highlight a subtle facial expression by a character.
There are many more tips to help you shoot more cinematically, but if you practice these 3 categories, then you'll be amazed at the results you can achieve each when you're on a 1 man run-and-gun shoot for a corporate video.